
Essential manicure tips: the basic kit for nail technicians
When you’re starting out (or when you want to optimize your routine), the real question isn’t “how many drill bits should I buy?” but which nail drill bits are truly essential to cover 80% of services: prep, cuticles, removal, and finishes. A solid basic kit = less second-guessing, more client comfort, and a more consistent finish ✅✨
Why a basic kit changes everything 💡
In Russian manicure (e-file) and overlays/reinforcements, “small mistakes” often come from not having the right tools: a bit that’s too aggressive, an imprecise shape, the wrong grit… The result? You compensate with pressure, you make more passes, and it heats up. A coherent kit helps you work more consistently and more safely.
- You save time: each bit does exactly what it’s meant to do.
- You improve client comfort: less heat, less irritation.
- You stabilize your results: clean cuticles, even surface, neat finishing.
- You work with more confidence: a clear routine, no improvising.
Essential nail drill bits (the checklist)
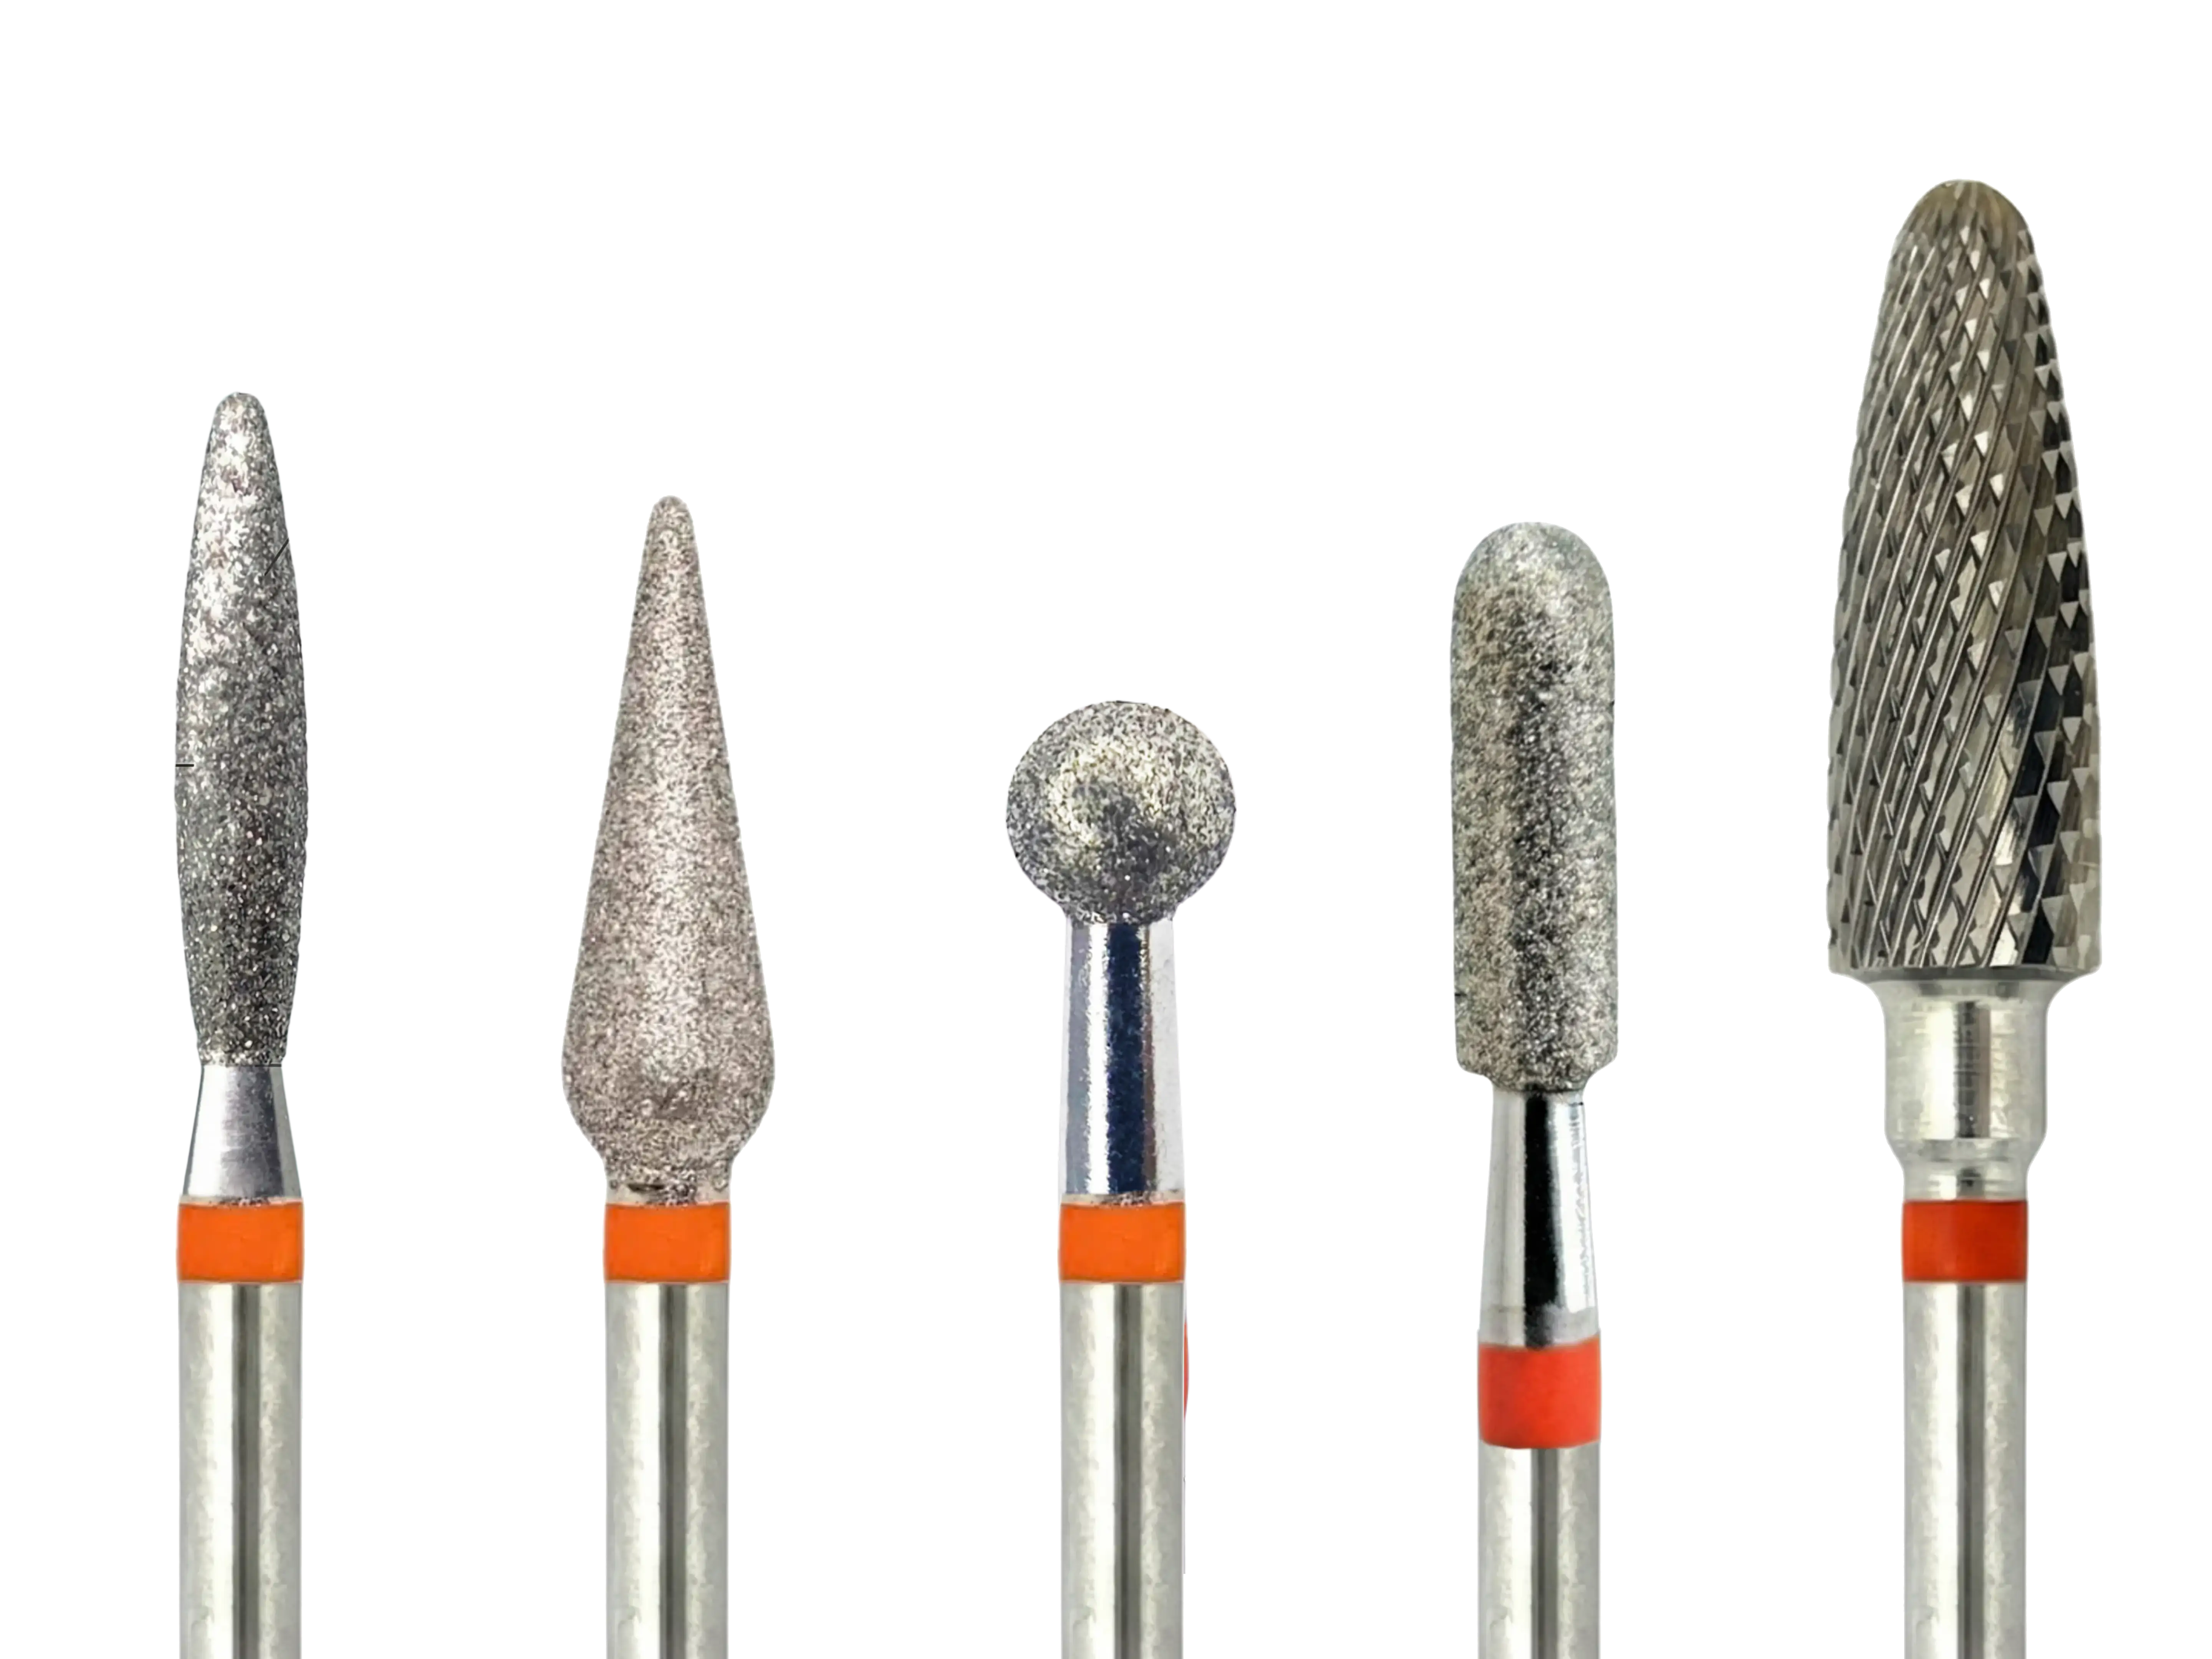
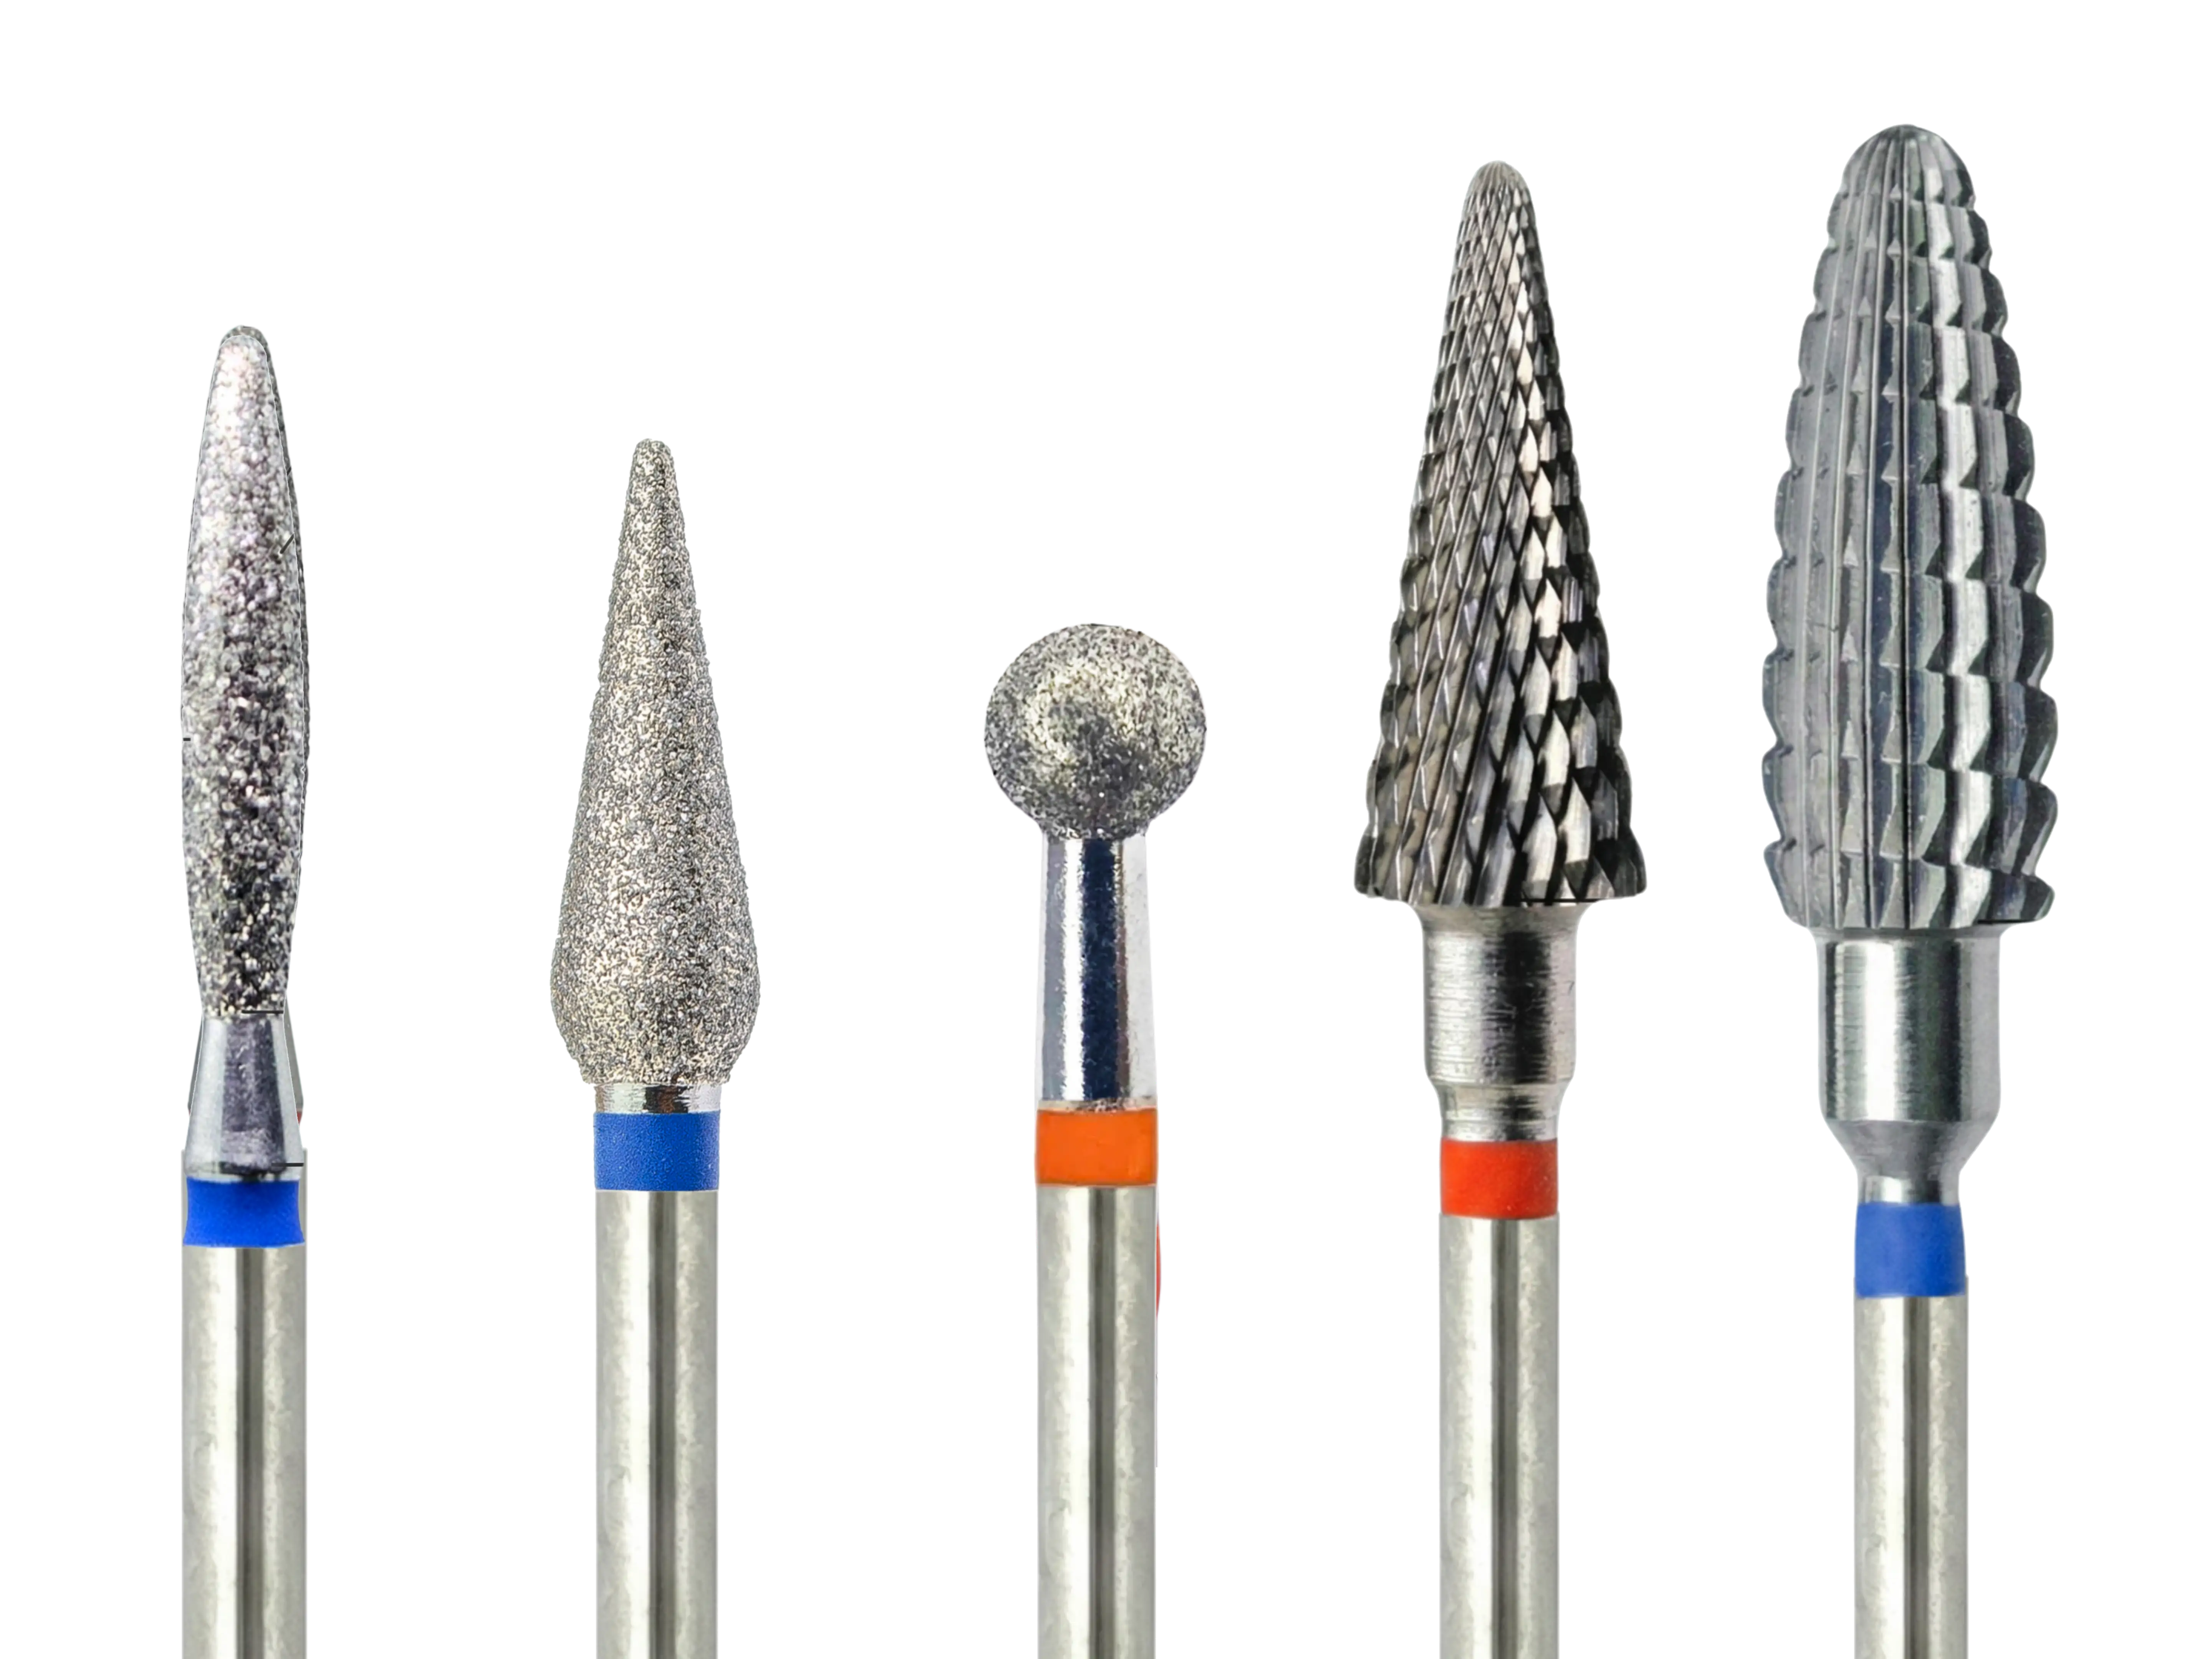
Here’s a highly cost-effective base for most services. You don’t need 15 different references: start with 5 complementary bits (diamond + carbide mix), then fine-tune based on your technique.
| Must-have | What it’s for | Why it’s “key” |
|---|---|---|
| Diamond – flame | Cuticles, sidewalls, precision work | Essential for a clean, controlled cuticle area |
| Diamond – ball | Cuticle finishing (depending on technique) | For a neat finish without “biting” |
| Diamond – cylinder / gentle cone | Gentle prep / smoothing per your protocol | Versatile: useful across many routines |
| Carbide – cone / removal | Gel / BIAB / gel polish removal, bulk reduction | Helps you avoid overworking: fewer passes = less heat |
| “Safe” carbide (depending on kit) | Adjustments / corrections / safer work | Ideal to steady your technique and reduce marks |
Simple routine: which bit for which step?
To avoid heat and save time, think “1 step = 1 bit”. Here’s an easy routine logic to follow:
| Step | Goal | Recommended bit |
|---|---|---|
| 1) Prep | Prep the nail plate, smooth per your protocol | Gentle diamond (cylinder/cone) |
| 2) Cuticles & sidewalls | Precision work, targeted cleaning | Diamond flame |
| 3) Cuticle finishing | Clean final detail (depending on technique) | Diamond ball |
| 4) Removal / reduction | Remove product efficiently without forcing | Carbide cone / removal bit |
| 5) Adjustments | Correct, refine, and work more safely | “Safe” carbide or gentle diamond |
Which kit should you choose for your level? 🎯
To go faster (and avoid selection mistakes), here are 3 ready-to-use options — linked directly to your best-sellers and bundles:
Versatile Starter Kit (beginner) – 5 bits (diamond & carbide mix)
Ideal if you want a simple kit to get started: a balanced base without spreading yourself too thin.
- Perfect to structure your routine (prep → cuticles → removal → finishing)
- Great balance of versatility and ease of use
- Recommended if you want to avoid “too many bits = too many doubts”
Pro Kit – 5 bits (diamond & carbide mix)
Designed for those who want to work more efficiently and reduce service time, with a coherent everyday kit.
- Smoother routine, fewer unnecessary passes
- Better client comfort (less overworking = less heat)
- Ideal if you perform several services per week

Professional manicure kit – KMIZ Reference (118445)
The premium kit if you’re looking for an ultra-reliable, long-lasting base focused on performance and precision.
- Ideal to standardize your professional “set”
- A great choice if you’re demanding about finishing
- A “reference” kit that’s easy to recommend
Pro tips: speed, pressure, heat 🧠
- Don’t compensate with pressure: if you have to press, it often means the bit/grit isn’t the right one.
- Keep a continuous motion: avoid staying in one spot (that’s what creates heat).
- Use a gentle angle: don’t point the bit “into” the nail—follow the surface.
- 1 bit = 1 role: the simplest way to stay consistent.
Hygiene & maintenance: your “quality guarantee” 🧤
A clogged bit works less efficiently, generates more heat, and loses precision. For professional results (and top client comfort), adopt a strict routine: clean, disinfect/sterilize according to your protocol, then replace worn-out bits.
- Clean immediately after the service (residue + dust).
- Follow your disinfection/sterilization protocol based on your equipment.
- Replace worn bits: if it “skids,” you’ll make more passes… and it will heat up more.
FAQ – Essential nail drill bits 🔎
How many drill bits do I need to get started?
A well-chosen 5-bit kit (diamond + carbide mix) is enough to cover most services: prep, cuticles/sidewalls, removal, and finishes.
Why mix diamond and carbide bits in one kit?
Diamond bits are great for precision (cuticles, sidewalls, gentle prep), while carbide bits are often preferred for removal and bulk reduction. Mixing both makes your routine more complete.
How can I avoid heat with an e-file?
Prioritize: the right bit + light pressure + continuous motion. If you have to press or go over the same area too many times, it’s usually a sign of an unsuitable bit/grit or a worn-out bit.
Which kit should I choose if I don’t want to make a mistake?
If you’re a beginner: Starter Kit. If you’re already comfortable and want to work faster: Pro Kit. If you want a premium “reference” base: KMIZ Reference Kit.